Tuesday, August 21, 2018

Modifying a Bra Pattern for Nursing

I've been making a pile of nursing bras recently, which is a great excuse to give into my bra-making obsession. I'm not actually using a specific nursing bra pattern but rather modifying bra patterns I already have (both wired and soft). This is not actually a difficult modification and I thought it would be worth walking through the steps in case someone else wants to sew their own nursing bras.


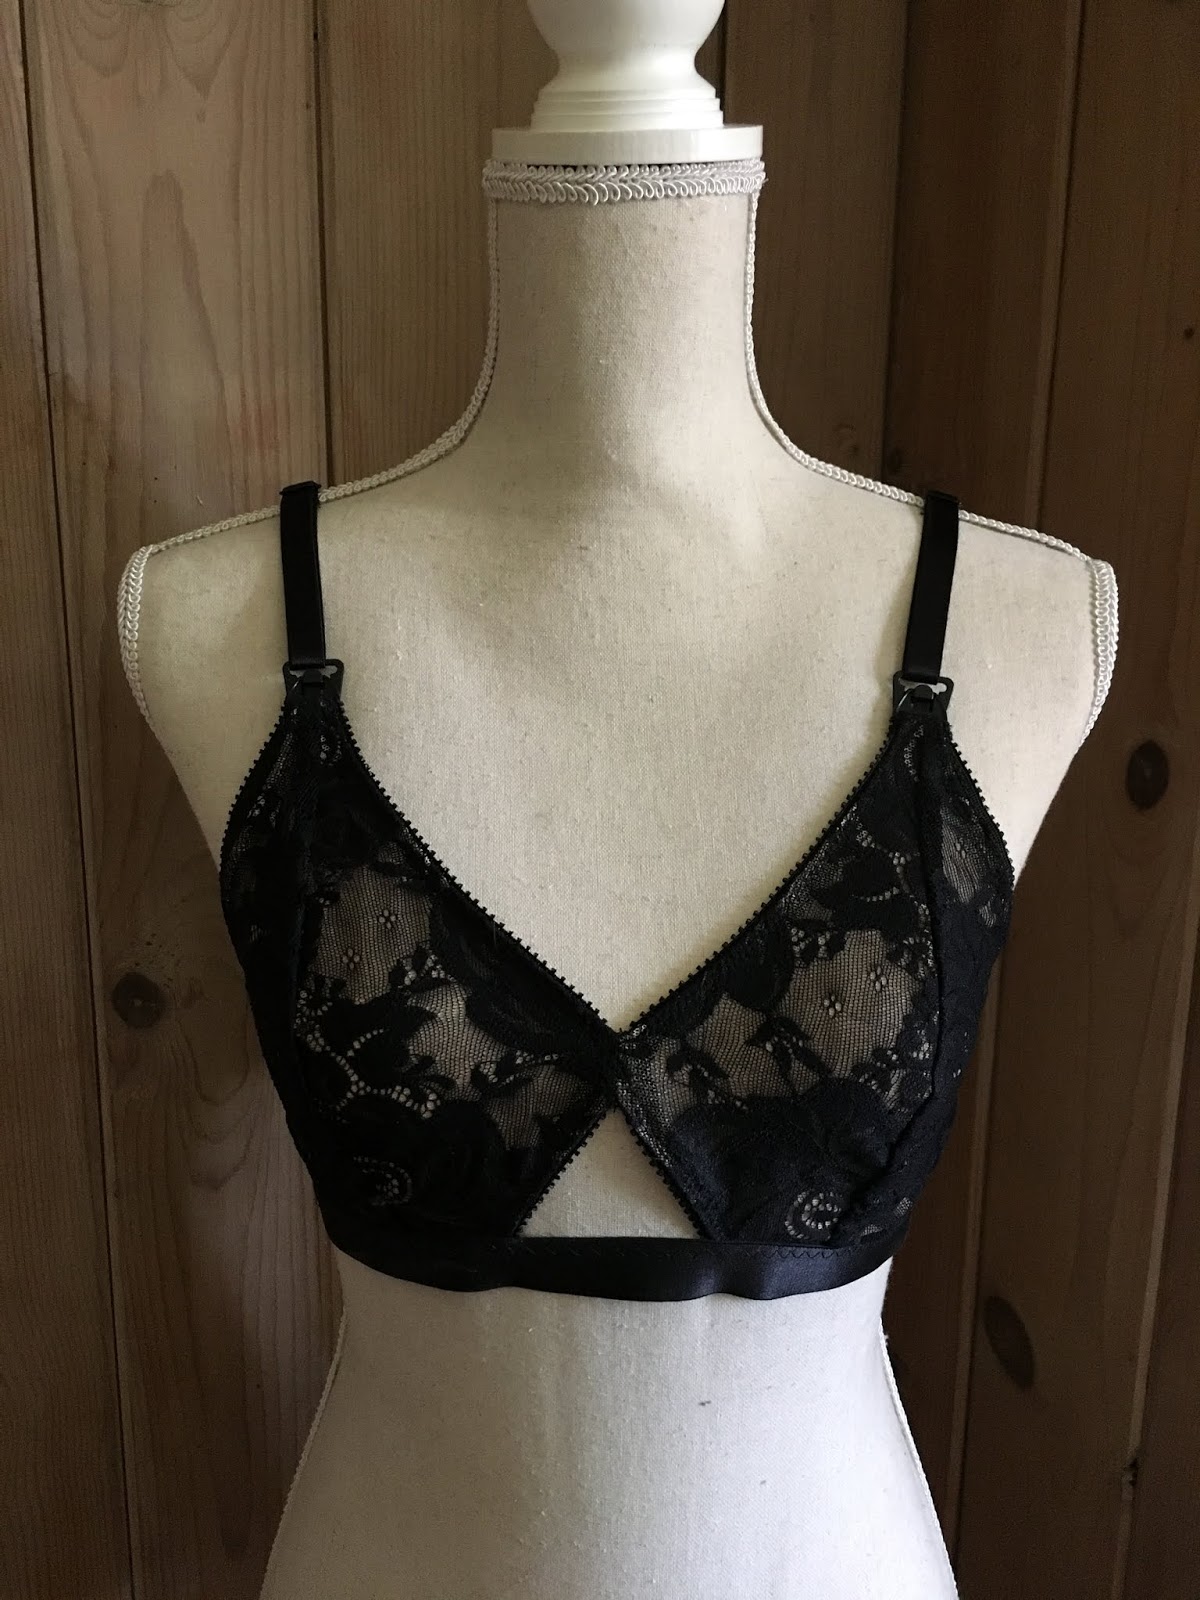
The main thing you need to sew a nursing bra is a pair of special maternity bra clasps (I got mine from Sew Sassy, where they are available in white, black, and beige). I matched up the width of the clasp to the width of my strapping, which works fairly well though is a little wide on top. The clasps replace the rings that usually connect the cups to the straps at the front of the bra (shown below).

Clasp in place of a ring connecting cup to strap

There are three spots to connect the bra to the maternity clasp: 1) at the top of the clasp base, 2) at the bottom of the clasp base, and 3) on the piece that snaps onto the front of the clasp. The straps connect to #1 and the bra cup to #3 (allowing you to freely drop the cup for nursing), but you'll need to do something extra about #2. If you don't do anything with spot #2, the strap will fly away free when you unclasp to nurse and it will be a royal pain to get everything connected again.

Bra inside, showing both ends of the anchoring elastic

The key is to connect spot #2 to the cradle, which won't interfere with nursing and will anchor the strap for when the cup is released. I do this using a short piece of edging elastic, connecting one end of the elastic to spot #2 on the clasp and the other end to the top edge of the cradle, just outside of the cup-cradle seam. It's very little extra sewing (a straight stitch to attach the elastic to the clasp piece and a zigzag to anchor the new elastic to the underarm elastic) and makes for a working nursing bra.


The one thing I don't like about this modification is that the new elastic often peeks out from under the side of the cup. But this is a small issue compared to having a working nursing bra.


One last thing to take into account is that you'll want to make your nursing bra in a larger size than you usually wear. I've been going up one cup size while leaving the band size the same, which fits me at the moment (but may be too small for when I'm producing a lot of milk). I don't have a perfect answer for what size to make, other than it at least needs to be larger in the cup than your usual size.


I've used this modification successfully on the following patterns: Cloth Habit Harriet (shown here), Cloth Habit Watson (demonstrated in this post), and Madalynne's Barrett Bralette (demonstrated in this post). I'm also happy to say that this Harriet bra was much more successful than my first Harriet, which had sizing issues. The first was a 34D and too tight around the band, so I went up to a 36C and then added a cup size for nursing, leading me to make 36D. The 36D fits great and the pattern was much smoother to assemble the second time around.


So there you go, some notes on how to modify a regular bra pattern to allow for nursing. I hope that they help other people experience the joy of sewing your own nursing bras!

Tuesday, August 14, 2018

Doubling Up

It's time to admit that my Watson obsession is so bad that I'm now making them two at a time. I'm going to say that it's because it gives me some assembly line efficiency, but really I just want to make All The Watsons.


I do have a good reason for needing so many new bras, as these are also nursing bras. They differ from the standard in that I went up one cup size and am using nursing bra clips instead of rings on the straps. This also requires adding a length of elastic to connect the base of the clip to the bra's cradle, which is thankfully a pretty easy modification.


I'm particularly excited about the black and white bra. The fabric is leftover from my Women in Science dress. I wasn't too keen on the fabric for a dress (it's Spoonflower's performance pique), as it only stretches in one direction, but it's absolutely perfect for a bra. And I now have an awesome lady bra!


The one thing I’m not happy with is with the hook and eye. Instead of using kit notions for these bras, I bought hook-and-eye tape and just cut off the length I need. I’m not used to this hook-and-eye form yet and definitely shouldn’t be sewing it with a contrasting color. Also, I wish I bought a 3-row tape instead of the 2-row, as it makes for a tight bra. Well, something to improve on for next time!

Wednesday, August 01, 2018

Barrett Bralette

I branched out from my Cloth Habit pattern wheelhouse and tried a free bralette pattern from Madalynne, the Barrett Bralette. It's a simpler pattern (fewer pieces than Watson) but I couldn't resist the cute cut-out in the front.


The bralette came together pretty easily, though the pattern itself is a little wordy to follow, and the final bra is really comfortable. That said, I don't think that I'll make another pull-over/no-hook bra because it's a pain to put this bra on. Comfortable once it's on, but annoying to get there.


There is also one special, non-standard feature I added to this bra: nursing clips. I'm going to need nursing bras again starting this winter and I thought making new ones was infinitely preferable to digging out my old grubby ones. This is the reason that I have so many bras on my to-make list (and also why I'm confused about sizing at the moment).


So overall, a winning bra even though I doubt I'll make another. But it's comfortable and will do the job that I need it to do.

Tuesday, July 10, 2018

Harriet

I've mentioned in a few of my recent posts that I'm making a Harriet bra. It's finally done! This project totally got stalled in the spring and again due to a notions issue, but I'll get to that in a minute. First, I need to discuss sizing.


Even though they have the same designer, the Harriet bra uses different sizing than Watson (UK v US). While I'm a 36C in Watson, the measuring guide for Harriet suggested I make a 32E. And to make things even more confusing, Harriet's UK/US size conversion chart says I'm still a 36C. I read a number of mixed reviews online - some saying to follow the measurement guide, others saying not to, and even a couple saying they were in between. So I hedged my bets, compared pattern pieces between Harriet and Watson, and went with an intermediate 34D.


So of course, this bra doesn't fit. The biggest issue is that the band is too tight. Going up a band size but keeping the same cup size would put me squarely in the realm of a 36C (my regular size). At least I can use the same size underwires?


Speaking of underwires, they're the second reason this project got stalled. I had the bra almost finished when I discovered, after inserting my underwires, that they're too long! I ordered what I thought was the right size but from a different notions supplier than the one recommended. Note to self that underwire maker matters.


So like my first Watson, this one turned out to be too small. I guess I'll have to fix that in my next Harriet!

Tuesday, May 29, 2018

Down the Rabbit Hole

It's official, I'm obsessed. I can't stop making bras, particularly Watsons. This post shows numbers 3 and 4. This is my first short version; it's super comfortable.


The next one I made as a gift. Is it weird that I am making bras for family members or does that just mean I'm really, really obsessed?


You'll notice something else new in these photos: a dress form. My mom's weavers guild got some dress forms for an exhibit and she snagged one for me when the exhibit ended. It's not fancy and it's definitely not my size, but it makes for lovely bra photos (because I'm not going to blind you with my paleness to model bras).


You might think that 4 Watsons does not yet merit a rating of "obsessed", but I still have 2 more bras to post (a Harriet and a Barrett) and I just cut out fabric for 2 more Watsons. I'm in trouble.

Tuesday, March 06, 2018

Watson 2

I might be obsessed. After breezing through sewing a Watson bra, I couldn't help but want to make another. So I ordered a new kit, this time with scuba fabric, and churned out a second Watson bra!


The second is a different size and fits much better than the first (turns out, you should measure yourself for these things) but I think some of sewing was better on the first one. In particular, I'm not happy with how the cups meet the center of the cradle on this Watson. Otherwise, it turned out fine and I can't stop wearing it.


While I would love to make more Watsons, I'm ready to tackle a new challenge in Cloth Habit's other bra pattern, Harriet. This one has underwires, so wish me luck!

Tuesday, February 27, 2018

Watson

I love learning new things. However, I admit that learning new things can be daunting. Case in point: sewing a bra.


The bra in question is the Watson bra. It's a great entry into making your own lingerie because it's a soft bra without anything more complicated than having the right findings (which I bough alongside the proper fabric in a kit). Still, a bit intimidating for a first timer.


It turns out that I didn't have anything to be worried about (though it probably helped that I read through the pattern about 5 times before starting). I was able to start sewing and complete the bra in about 2 hours! The joy of whizzing through a satisfying craft project in a small amount of time has no equal.


For as much as I loved this project (and find the final bra to be very comfortable), I can't wait to dig into my next Watson and make a couple tweaks. Next time, I'll adjust the sizing, be sure to baste my layers by hand, and use non-lace fabric for the cups. That said, I could not be happier with my first bra-making experience.